Teaching with EduBeam
EduBeam started in a lecture hall, and that is still where it works best: a model on the projector that reacts the moment you change it, and the same model on every student's laptop through a link. This page collects what teachers use most, from the first lecture to the exam.
In the lecture
Make the model readable from the back row and change it live.
In the first lab
Ten minutes from an empty screen to a beam checked by hand.
In notes and assignments
A link in a PDF or on a slide opens the whole model, for years.
Self-checking assignments
Hand calculation first, then the model as the check.
Practice and test papers
Generated problems with instant checks, and printable tests with answer keys.
Exercise sheets and slides from code
Your own exercise generators and slide figures, written with @edubeam/plot.
In the lecture
- Make it readable from the back row. In Settings → Viewer settings, raise the Font size to 18 or 20 px (20 px is the largest) and the Support size to 130–150 %. Raise the Results scale if the diagrams still look small.
- Show one thing at a time. In the display options at the top right of the viewer, untick everything except the quantity you are talking about, then add the others one by one.
- Change the model live. Drag a support, tick
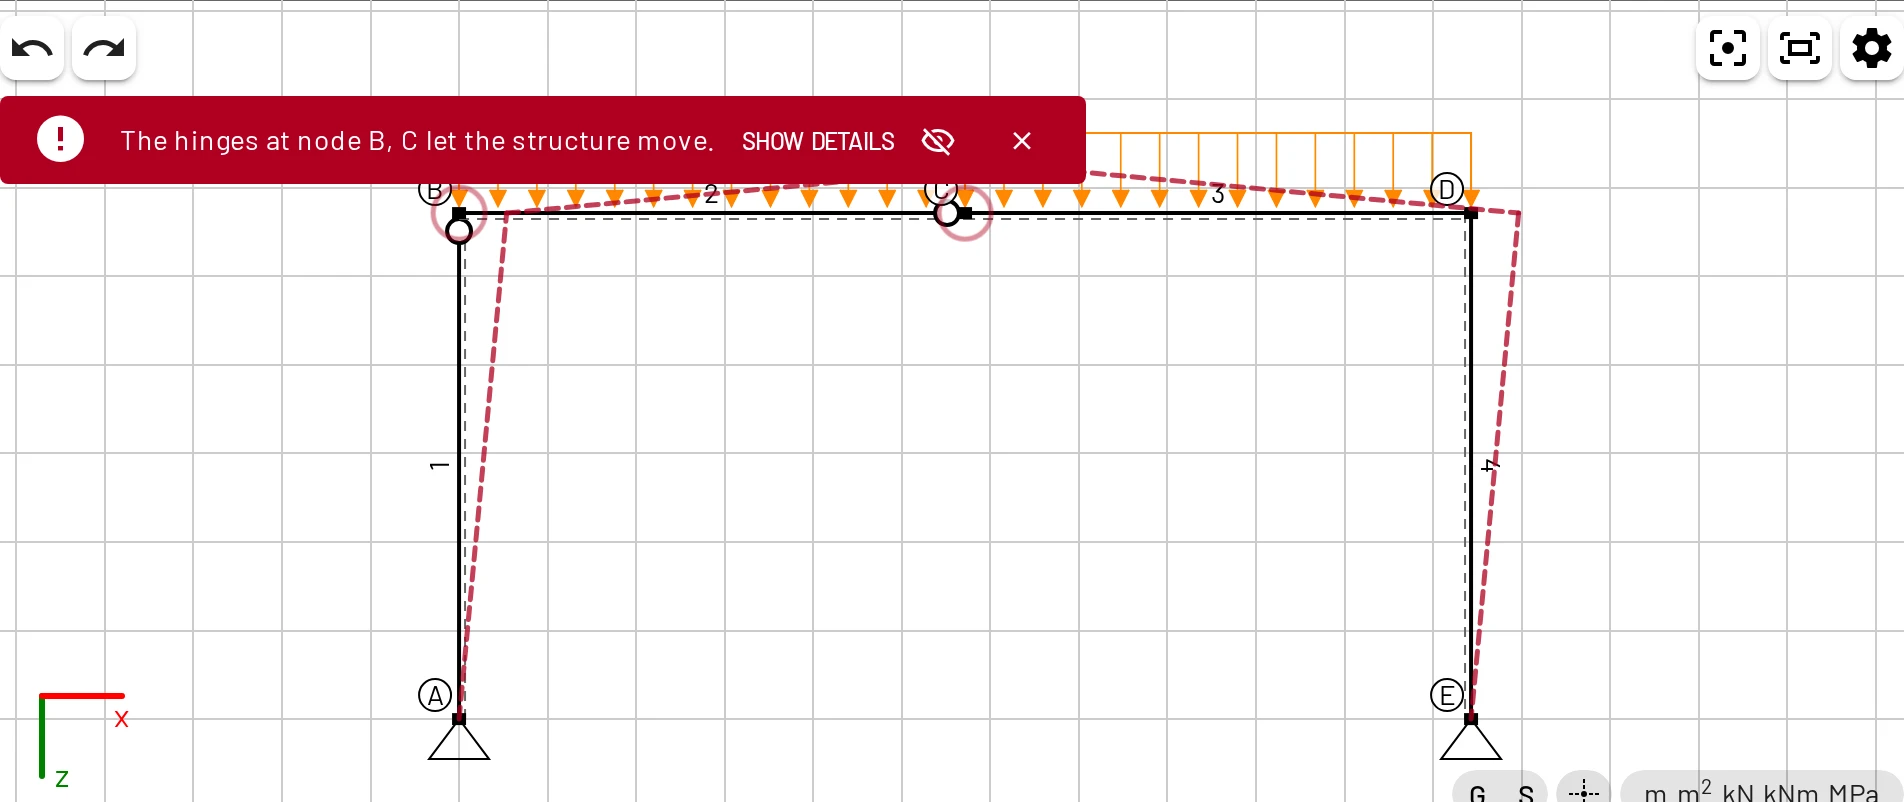
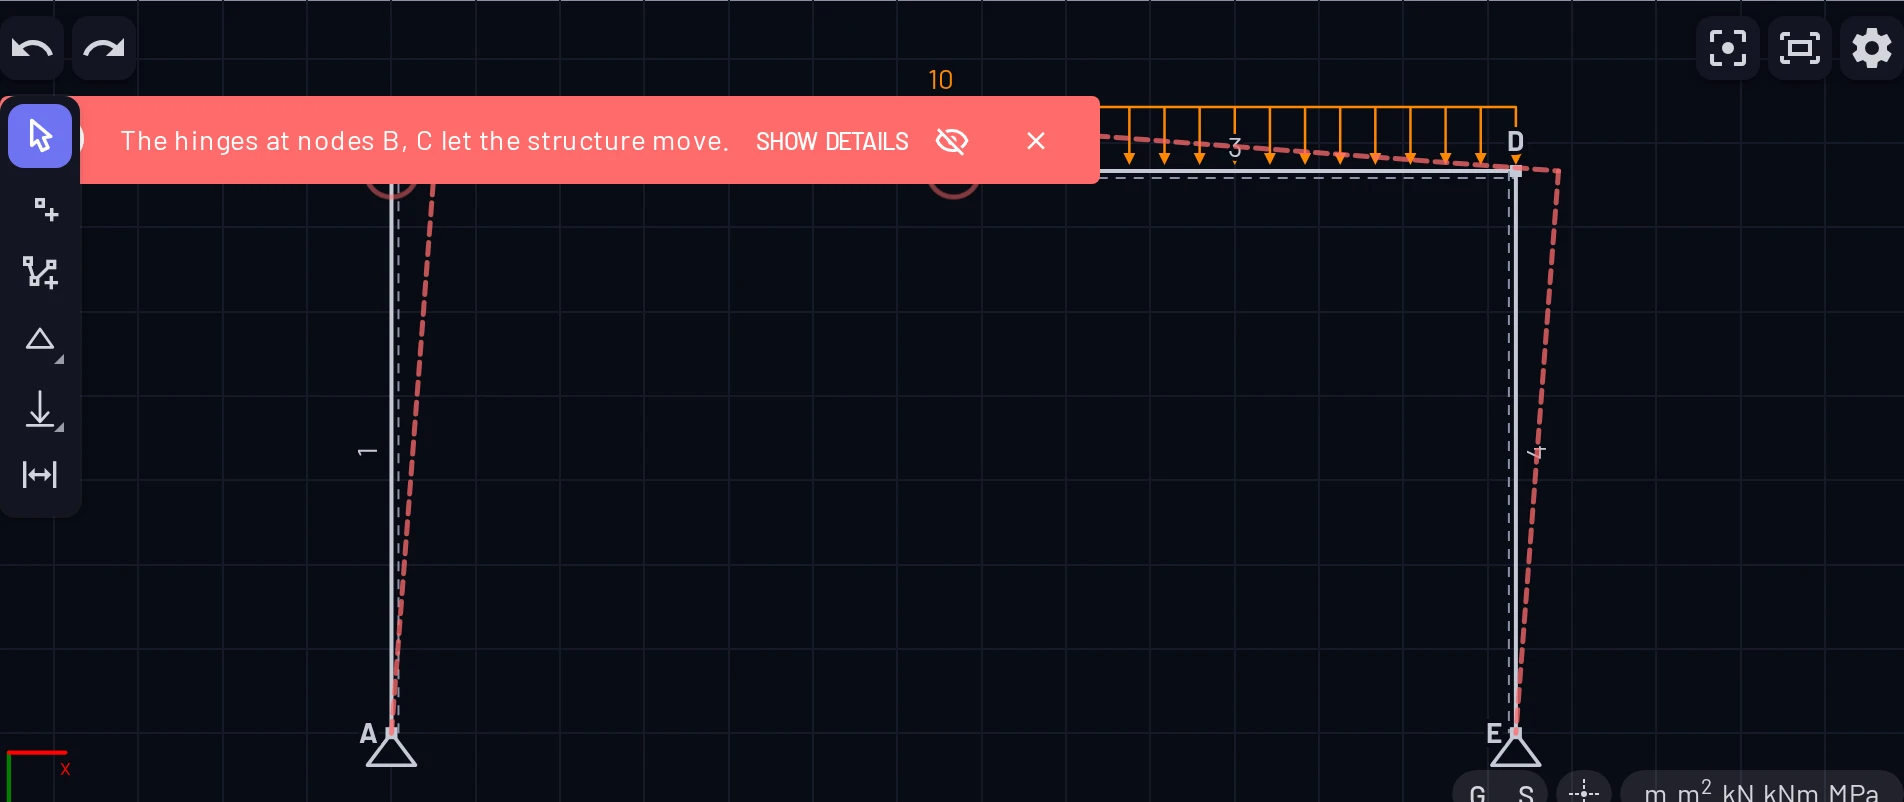
Ry, add a hinge. Students see cause and effect at once, and Ctrl+Z takes you back. - Let the solver explain mechanisms. Release one hinge too many and EduBeam draws how the structure can move, animates it and circles the hinges at fault. It is a good moment to talk about stability. Both switches are under Settings → Viewer settings → Model checks.
- Use your students' language and axes. EduBeam speaks 18 languages, and Settings switches between SI and US units and between z-down and y-up axes to match your course notes.
In the first lab
On their first visit, EduBeam asks students how they want to start and which units and axes to use. Tell them beforehand which units and axes your course uses. The tour (Show me around), the guided task Draw your first beam and the Examples stay in the ☰ menu for later.
A good first lab: "open run.edubeam.app and choose Draw your first beam", then the Quick start, about ten minutes with a hand check at the end.
Lab computers and offline use
EduBeam is a progressive web app: once a browser has loaded it, it keeps working without a connection, and the browser may offer to install it like a desktop app. The model and settings are kept per browser profile, so on shared lab computers students should take their work away as a file or a link. What is stored in your browser has the details.
In lecture notes and assignments
A share link holds the whole model, so it works anywhere a link does: a PDF, a slide, an LMS page, an e-mail.
Build the model
Set it up the way students should first see it: the loads, the labels and the diagrams you want on.
Copy the link
Press Share model in the app bar. Switch on Show what I see if the link should open with your diagrams, loads and labels on, then press Copy.
Paste it into your notes
Students who open it get their own copy to explore. Nothing they change reaches you or anyone else. Links keep working across EduBeam versions, so notes stay valid year after year.
Leave Shorter link off for course material: a copy of EduBeam that hasn't updated since that option arrived can't open the shorter form until it updates.
| Link | Opens |
|---|---|
run.edubeam.app/?model=… | the model, ready to edit |
run.edubeam.app/?viewer=1&model=… | the model in viewer mode, for an <iframe> |
run.edubeam.app/?panel=examples | the examples gallery |
run.edubeam.app/?lang=cs | the app in Czech, or in any other language |
Assignments students can check themselves
EduBeam gives students immediate feedback on a hand calculation without doing the method for them.
- Calculate first, then check. Ask for the reactions, the internal forces and one displacement by hand, then have students build the model and compare. Checking results by hand has the formulas, and the Quick start shows the routine.
- Ask why a result differs. Shear deformation, a missing hinge, a load in local instead of global axes: each explains a small or large mismatch, and finding it teaches more than the match.
- Collect the model with the work. Ask for a share link or a
project.jsonnext to the calculation. You can open it and see exactly what was modelled. - Reports look the part. Students can export the drawing as SVG, which stays sharp in Word and LaTeX, and the results as CSV. See Export an image.
Ready-made exercises
- Examples: six models that open in one click, each with questions, what to look for and the answers.
- Practice problems: generated beams, frames and trusses that check students' answers, and an exam builder that prints them as test papers. See below.
- Tutorials: an inclined beam, a three-hinged frame, a plane truss and a continuous beam with a settling support, each modelled step by step and checked by hand. They work as lab handouts of 15 to 20 minutes.
- Checking results by hand: the closed-form cases, from a cantilever to a support settlement, to set as quick checks.
Practice problems and test papers
Two pages on this site make statics problems for you, with nothing to install and nothing to program:
- Practice gives students a new problem whenever they ask for one. They work it out on paper, type in the reactions and the largest bending moment or a bar force, and the page checks each value against the exact solution: within 1 % counts, and a right size in the wrong direction is flagged. A hint shows how to start, and the diagrams come once they are done. Every problem has a code, such as
H2048, that always names the same problem: put one in an assignment, and everyone checks against the same numbers. - The exam builder prints test papers: pick the kinds of structure, up to 6 problems per paper and up to 40 versions, and every student gets a different version. Each version has the same kinds of structure in the same order, so the papers are equally hard. It adds a line for the name, space for working and an answer key, and Print or save as PDF prints them. Download .zip gives every figure as an SVG file for LaTeX and Word, and the answers as a CSV table for marking.
Both offer the same eight kinds of structure: six statically determinate ones (a simply supported beam, a cantilever, a beam with an overhang, a Gerber beam, a three-hinged frame and a Warren truss) and two indeterminate ones (a two-span continuous beam and a portal frame).
The exam builder keeps its settings, including the Exam number that picks the numbers, in the page's address. Bookmark it, and the same papers and key come back next year. Problem codes are off on test papers by default: the practice page shows the solution, so codes belong on homework, where students check their own work afterwards.
Exercise sheets, tests and slides from code
The diagrams on this site are drawn by @edubeam/plot, a library of Vue components that draws any plane beam, frame or truss solved by @edubeam/fem, the solver behind EduBeam. If you can write a little JavaScript, it turns a few lines of code into course material:
- Your own kinds of problem. When the exam builder's structures are not the ones you teach, write your own: a seed picks the structure and its numbers, so the same seed always gives the same exercise, and the answer key is drawn from the same seed.
- Slides that build up. Show the structure, then the supports and loads, then the reactions, then the moment diagram, step by step, without the drawing moving between steps.
- Figures for notes and course pages. Sharp SVG that follows the page's light or dark theme and, unlike an embedded app, never touches the student's own model.
Try it. Each press of New exercise draws a new problem and its answer key:
Three-hinged frame
H4820A frame 6 m wide and 4 m high, on pins at A and E, with a hinge at the crown C. The beam carries q = 12 kN/m over its left half, and F = 5 kN pushes B to the right. Find the support reactions and the largest bending moment.